Happy Valentine's Day! Hold onto your seat for this one. Though this
recipe took about 6 hours to make, the outcome was stunning both in presentation and taste and was part of my present for Jeni. According to the Bon Appétit website, this "Ribbon Cake" was first published in 1984 and is still their most requested recipe. After sampling it ourselves, I can see why. The step by step instructions below are a bit lengthy but they are not overly complicated if you follow them closely and I've tried to include a lot of pictures so you can see what each step should look like along the way. The cake below yields 12-16 servings. Enjoy!
1. Where the recipe called for chocolate, I used Guittard brand chocolate chips, semisweet and white and it worked perfectly.
2. I didn't have a fresh nutmeg so I used 1/3 tsp of ground nutmeg.
3. The buttercream calls for 4 jumbo egg yolks which translates into 5 large egg yolks.
4. I don't drink alcohol or coffee, so you'll see my substitutions below which were rum extract instead of actual rum and coffee-flavored powder instead of actual coffee.
5. I was most nervous about the ribbons so I made those first and thankfully they turned out. I then refrigerated them with a piece of saran wrap over the top and they lasted great for several days until I was ready to use them.
6. When working with the chocolate, use latex gloves to avoid thumb-prints.
7. If you don't have a pasta roller, you can roll it out using a rolling pin.
INGREDIENTSCake1 1/2 cups butter, room temperature
2 cups sugar
8 eggs, separated, room temperature
10 oz bittersweet or semisweet chocolate (do not exceed 61% cacao), melted, lukewarm
1 1/2 cups finely chopped pecans
2 tsp vanilla
1 tsp ground cinnamon
1 tsp ground cloves
1 tsp freshly grated nutmeg
1 1/3 cups unbleached all purpose flour, measured then sifted
Pinch of salt
Pinch of cream of tartar
Buttercream3/4 cup sugar
1/2 cup light corn syrup
4 jumbo egg yolks
1 1/2 cups butter, cut into small pieces, room temperature
6 oz bittersweet or semisweet chocolate (do not exceed 61% cacao), melted and cooled (but still pourable)
1 Tbs rum extract
Glaze12 oz bittersweet or semisweet chocolate (do not exceed 61% cacao), chopped
3/4 cup unsalted butter, cut into 12 pieces
2 Tbs honey
3/4 tsp coffee flavored beverage (like Perot or Postum)
Chocolate Ribbons7 oz high-quality white chocolate, chopped
1/2 cup light corn syrup, divided
7 oz bittersweet or semisweet chocolate (do not exceed 61% cacao), broken into pieces
DIRECTIONS Cake1. Position rack in center of oven and preheat to 350°F.
2. Butter and flour three 9-inch-diameter cake pans with 11/2-inch-high sides.
3. Line bottom of each cake pan with parchment paper.

4. Using stand mixer, cream butter in large bowl.
5. Gradually beat in sugar until smooth.

6. Beat in egg yolks 1 at a time.
7. Blend in melted chocolate.

8. Slowly mix in pecans, vanilla, and spices.

9. Gently fold in flour in 4 batches. Batter will be very thick and dense.

10. Using stand mixer fitted with a clean dry beater, beat egg whites with salt and cream of tartar in another large bowl until medium peaks form.
11. Gently fold 1/4 of whites into batter to lighten, then fold in remaining whites.

12. Divide batter among prepared pans, spreading evenly.

13. Bake until toothpick inserted into center of cake comes out clean, 20-25 minutes.
14. Run knife around sides of each cake, then let stand for 10 minutes.

15. Invert cakes onto racks, then cool to room temperature.

16. The cakes can be made up to 2 weeks ahead. Just wrap each layer tightly and freeze.
Buttercream1. Stir sugar and corn syrup in heavy medium saucepan over medium heat until sugar dissolves.

2. Increase heat and boil 1 minute.
3. Meanwhile, using stand mixer, beat egg yolks in medium bowl until pale and thick.

4. Gradually beat in hot sugar syrup and continue beating until mixture is completely cool, 5-10 minutes. You can tell if it's cool by feeling the outside of your bowl.

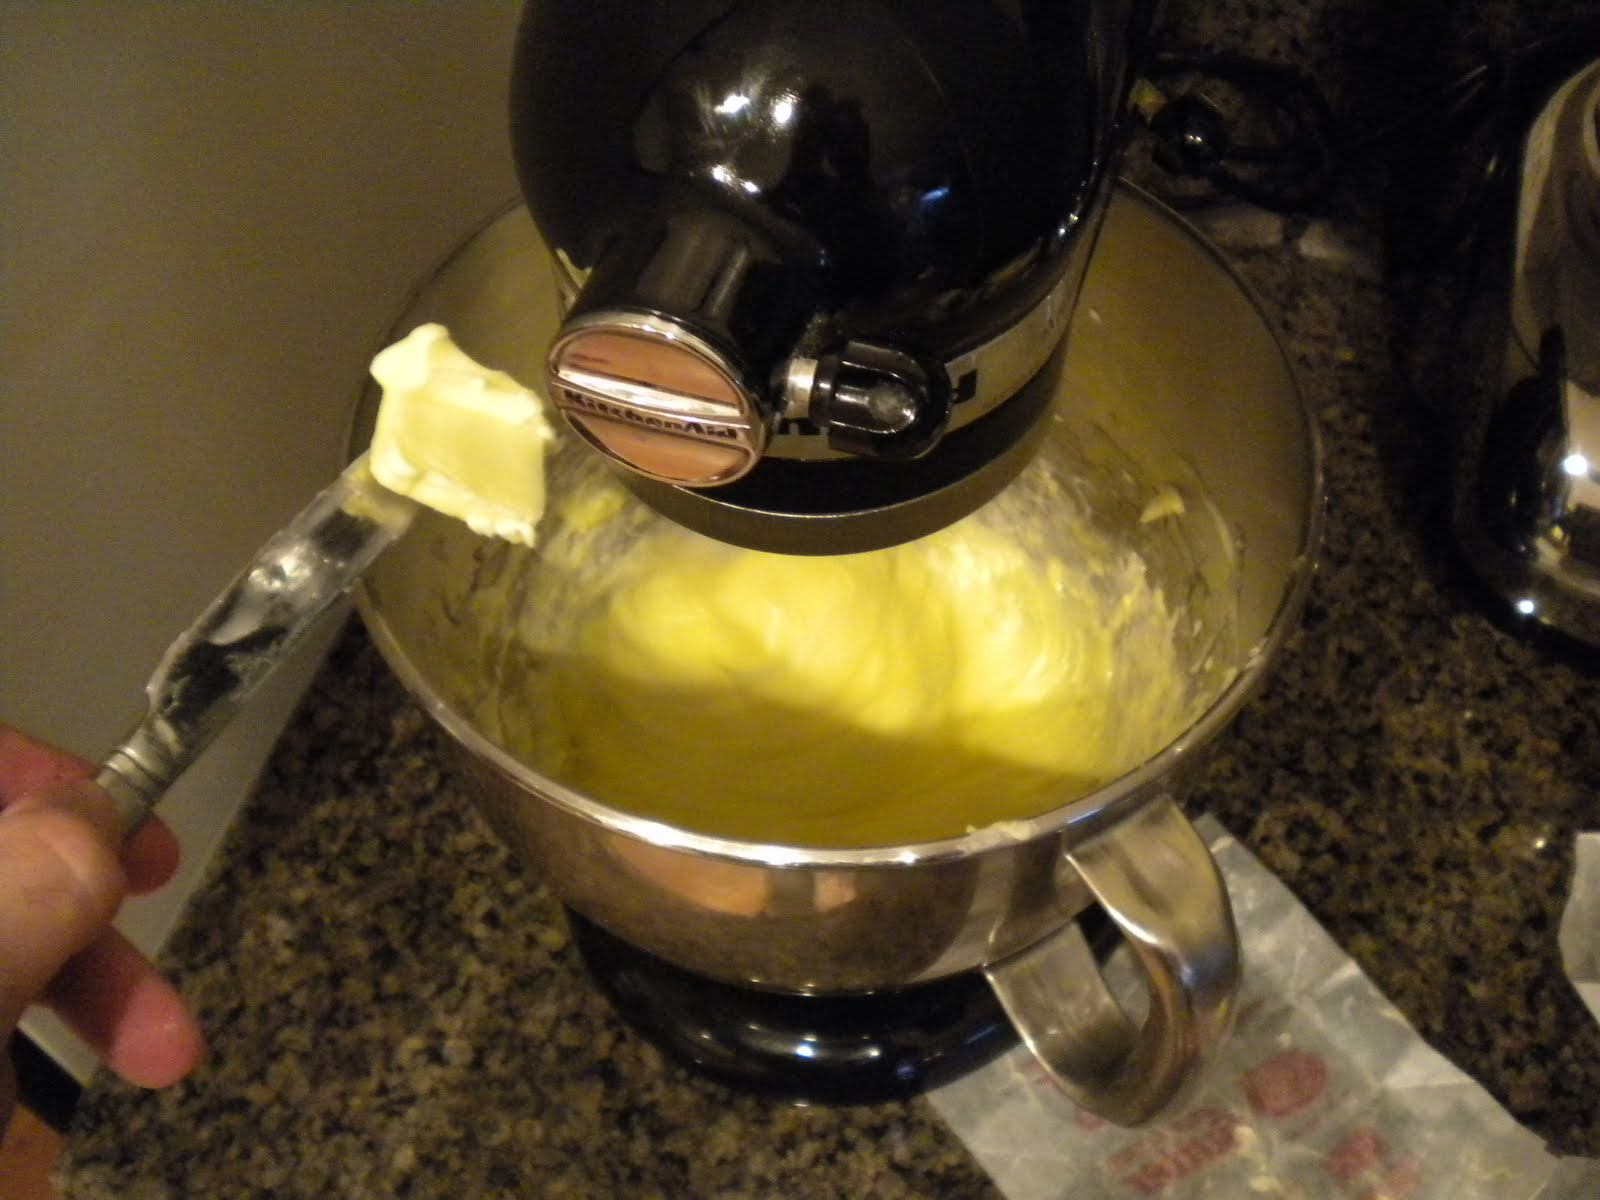
5. Beat in butter 1 piece at a time, incorporating each piece completely before adding next. If the butter melts, the mixture is not cool enough.

6. Blend in melted chocolate, then rum extract.
7. Reserve 1/2 cup buttercream.
8. Set 1 cake layer, flat side up, on rack and spread with half of remaining buttercream.
9. Top with second cake layer and spread with remaining buttercream.

10. Top with third cake layer, then use reserved 1/2 cup buttercream to fill in the seam where cake layers meet.

11. Freeze cake until buttercream is firm, at least 2 hours.
12. When removing the cake from the freezer, use your finger to smooth out any rough edges.
 Glaze
Glaze1. Stir all ingredients in top of double boiler over gently simmering water until mixture is smooth, then remove from over water.

2. Stir until glaze is thickened, about 5 minutes, making sure that the glaze does not set.
3. Pour 3/4 of glaze over top of cake.

4. Carefully and quickly tilt cake back and forth so glaze coats sides; smooth sides with spatula, adding some of remaining glaze where necessary, then chill cake until glaze is set.
 Chocolate Ribbons
1. Melt white chocolate in top of double boiler over gently simmering water; stir until smooth.
2. Stir in 1/4 cup corn syrup, then pour onto baking sheet and chill until firm, at least 30 to 40 minutes.


3. Transfer white chocolate to work surface and knead several minutes.
4. Shape white chocolate dough into ball then wrap in plastic.

5. Let white chocolate dough stand at room temperature 1 hour.
6. Repeat with bittersweet chocolate and remaining 1/4 cup corn syrup.

7. Cut white chocolate dough into 4 pieces, then flatten 1 piece into a rectangle.
8. Turn pasta machine to widest setting. Run chocolate through 3 times, folding into thirds before each run.

9. Adjust machine to next narrower setting. Run chocolate through machine without folding. If chocolate is more than 1/16 inch thick, run through next narrower setting.
10. Lay chocolate piece on rimless baking sheet.
11. Repeat flattening, folding, and rolling with remaining chocolate pieces.
12. Repeat process with bittersweet chocolate dough.
13. From rolled white dough, cut four 8x1-inch strips, ten 6 ½ x1 inch strips and one 3x1-inch strip.


14. From rolled chocolate dough, cut four 8 x ½ inch strips, ten 6 ½ x ½ inch strips. And one 3 x ½ inch strip.
15. Center bittersweet chocolate strips atop white chocolate strips to form four 8-inch strips, ten 6 ½-inch strips and one 3 inch strip.


16. Cut ends off two of the 6 ½-inch strips ribbons on diagonal.
17. Fold the 3 inch ribbon into a small round.
18. Fold remaining eight 6 ½ inch ribbons in half, layered side out, then cut end into V shapes and lay sideways on your sheet pan to retain their shape.


Assembly1. Run one of the 8 inch strips from base of cake to center. Arrange remaining 3 chocolate ribbons equidistant from each other in same fashion so ribbons meet in center.

2. Starting at center, drape two of the 6 ½ inch ribbons over top and sides of cake to form trailers.

3. Arrange ribbon halves with V shapes at center of cake to form bow.

4. Place 3 inch ribbon in center of bow.

5. Carefully transfer cake to serving platter or cake stand.
6. Cover and refrigerate.
7. Bring cake to room temperature before serving.